Simple IAP System
About Simple IAP System
1. What is Unity IAP?
Unity IAP (In-App Purchases) is a powerful tool that allows developers to easily implement in-app purchasing functionality into their Unity games or applications. It provides a seamless integration with various app stores, including Google Play, allowing developers to monetize their creations and provide a better user experience.
1.1 Why is Unity IAP important?
Implementing in-app purchases is a crucial aspect of modern game development. It enables developers to offer additional content, virtual goods, subscriptions, and other monetization opportunities to their users. Unity IAP simplifies this process by providing a standardized and user-friendly framework that can be easily integrated into any Unity project.
1.2 How does Unity IAP work?
Unity IAP handles the entire in-app purchase flow, from displaying product information to handling payment processing. It supports multiple app stores, including Google Play, Apple App Store, and Amazon Appstore.
To use Unity IAP, developers need to create and configure their products within the respective app stores’ developer consoles. Unity IAP then handles the communication between the app and the store, allowing users to make purchases seamlessly.
2. Connecting Unity IAP with Google Play
Google Play is one of the most popular app stores for Android devices, and integrating Unity IAP with it opens up a world of monetization possibilities. Here’s a step-by-step guide on how to connect Unity IAP with Google Play:
2.1 Set up your project in the Google Play Console
The first step is to create a new project in the Google Play Console. This is where you will configure your in-app products and manage your app’s presence on the store.
- Sign in to the Google Play Console using your developer account.
- Create a new project and provide the necessary details, such as the app’s name and package name.
- Once your project is created, navigate to the “Monetize” section and select “In-app products” to start setting up your products.
2.2 Configure your in-app products
In the Google Play Console, you can define different types of in-app products, such as one-time purchases, subscriptions, and consumable items. Each product needs a unique identifier, a title, a description, and a price.
- Click on the “Create product” button and select the type of product you want to create.
- Provide the required information for the product, including its ID, title, description, and price. You can also add localized descriptions and prices for different regions.
- Save the product and repeat the process for any additional products you want to create.
2.3 Import the Unity IAP package
Before you can start using Unity IAP in your project, you need to import the Unity IAP package. Here’s how:
- Open your Unity project and navigate to “Window” -> “Package Manager”.
- In the Package Manager, select “Unity IAP” from the list of available packages.
- Click on the “Import” button to add Unity IAP to your project.
2.4 Configure Unity IAP settings
Once the Unity IAP package is imported, you need to configure the settings for your Google Play integration:
- In Unity, go to “Window” -> “Unity IAP” to open the Unity IAP configuration window.
- Select “Android” as the target platform.
- Click on the “Google Play” tab and enter your Google Play license key. You can find this key in the “Services & APIs” section of the Google Play Console.
- Save the settings.
2.5 Implement in-app purchases in your Unity project
Now that your project is set up and configured, it’s time to implement the in-app purchase functionality in your Unity project:
- Create a new C# script to handle the in-app purchases.
- Add the necessary code to initialize Unity IAP and load the available products from the store.
- Implement the logic to handle user interactions and process the purchase requests.
- Test the in-app purchase flow in the Unity Editor or on a physical device.
2.6 Submit your app to the Google Play Store
Before you can release your app with in-app purchases on the Google Play Store, you need to complete a few additional steps:
- Build and sign your APK using the Unity build settings.
- Create a release in the Google Play Console and upload your signed APK.
- Fill in the required details, such as the app’s title, description, screenshots, and promotional materials.
- Submit your app for review.
Once your app is approved, users will be able to download and install it from the Google Play Store, and your in-app purchases will be available for them to buy.
3. Conclusion
Integrating Unity IAP with Google Play opens up new opportunities for developers to monetize their Unity games and applications. By following the steps outlined in this article, you can easily connect Unity IAP with Google Play and start offering in-app purchases to your users. Remember to test your in-app purchase flow thoroughly and provide a seamless user experience. Happy monetizing!
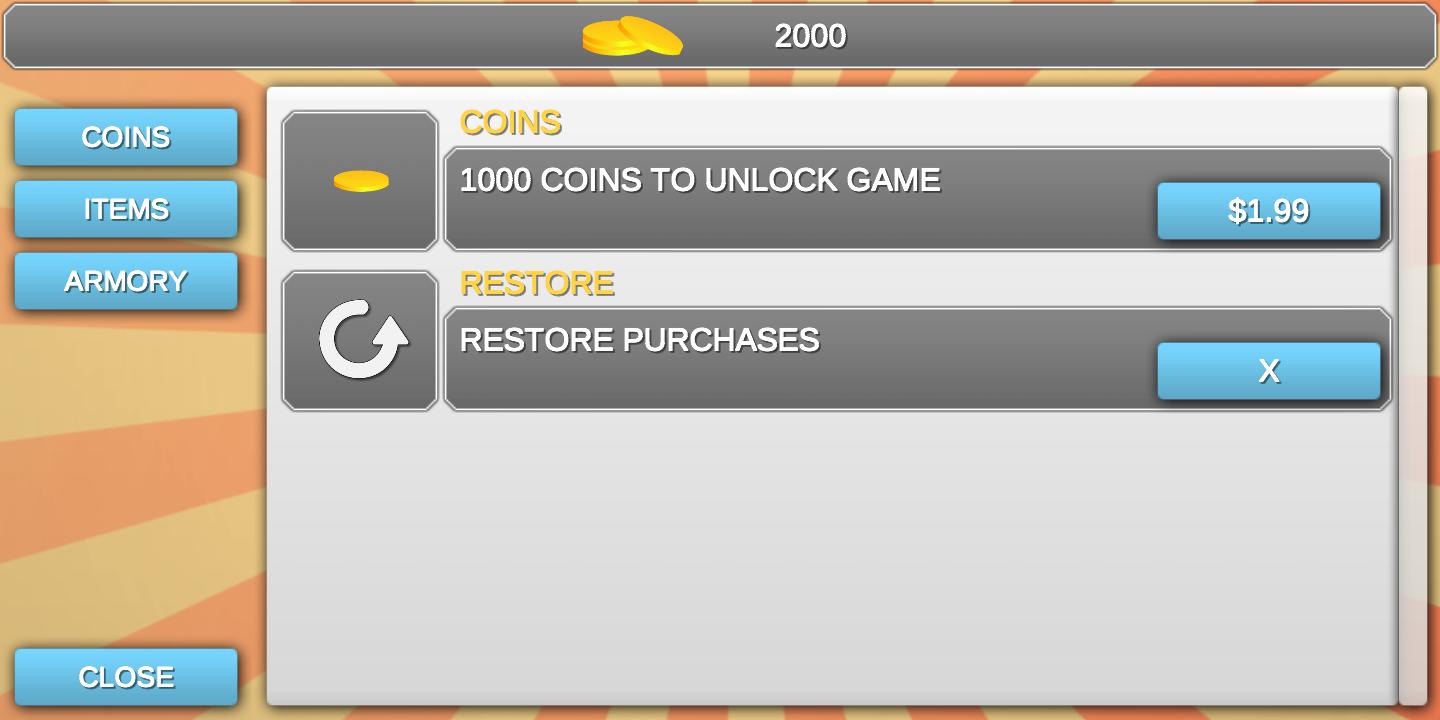
Screenshots